
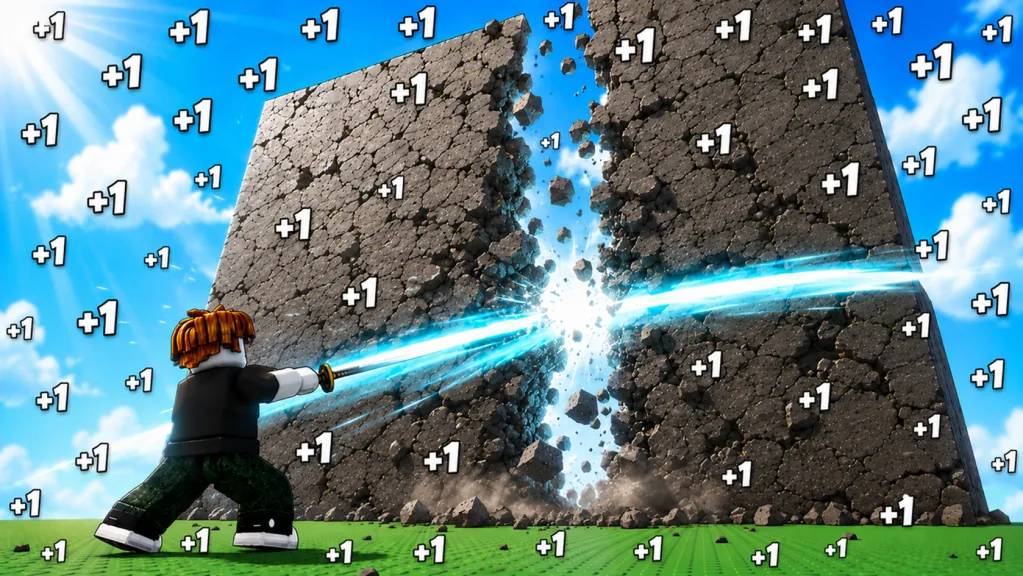
Get the loop moving before pushing the last wall
Do not spend World 1 attacking the newest wall until it finally breaks. Train Power, farm the strongest wall you can clear at a steady pace, buy an upgrade you can feel, and test the next wall again. Keep cycling until reaching the world gate is quicker than another round of farming.
The route looks like this:
slash for Power → break a fast wall → collect Wins → buy a useful upgrade → retest
This rhythm matters more than a fixed requirement. Stage health, prices, and unlock numbers can change, so read the labels in your server and keep the same basic route.
Step 1: Turn every slash into useful Power
Slashes release shockwaves and generate Power. New players often reach a wall too early and keep swinging through tiny damage numbers. Step back and build enough Power to turn that wall into a short, repeatable fight.
Keep slashing as you move between training, upgrades, and walls. Power supports the rest of the World 1 route because quicker wall breaks mean quicker Wins.
The 100 Power and 1000 Power badges are useful early landmarks, but neither badge tells you whether your wall farm is paying well.
Step 2: Choose your farm wall by time, not position
Walls become harder from stage to stage and pay Wins when they break. The furthest wall feels like progress, but it is not always the quickest place to build currency.
Test two targets:
- Break the furthest wall you can currently defeat.
- Break the previous wall for the same amount of time.
- Compare total Wins, not the reward from one break.
| Wall result | Best action |
|---|---|
| New wall breaks almost as quickly | Push and farm the new stage |
| New wall takes several slow cycles | Return to the previous wall |
| Previous wall no longer funds upgrades | Train Power or buy a multiplier |
| Both walls feel slow | Recheck Slash, Aura, Pet, and Rebirth options |
This test keeps you from wasting a long session on slow attacks.
Step 3: Spend Wins on upgrades you can feel
Better Slashes are part of the game’s upgrade loop. Buy one to shorten your route, not to fill every slot in a collection. An available intermediate option can still be a poor use of Wins.
Before buying, ask:
- Does this Slash reduce the number of attack cycles on my farm wall?
- Can I reach a much stronger option after one short farm session?
- Is an Aura, Pet improvement, or Rebirth bonus solving the bottleneck more directly?
Take the cheapest purchase that clearly changes the wall cycle. Skip anything that delays a stronger option while leaving your wall speed unchanged.
Step 4: Add Auras and Pets at the right moment
Auras add multipliers, while Pets add strength through the loadout you equip. Both are easier to judge once your basic Slash and wall loop is already stable.
For Auras, read the live multiplier and currency before buying. For Pets, compare the displayed stats of your actual inventory. Do not assume a rarity label automatically beats a lower-rarity Pet; use the stat card shown in the current build.
Equip your strongest checked loadout before testing a new wall. If a Pet roll or Aura purchase does not change the wall cycle, go back to farming instead of chasing another random result.
Step 5: Prepare your first useful Rebirth
Rebirth trades current-run progress for stronger growth later. World 1 teaches you whether a reset saves time or simply interrupts a run that is still moving well.
Open the Rebirth panel and check:
- the current requirement;
- the reward or multiplier shown;
- the reset warning;
- whether a level gate is included;
- which parts of your build remain afterward.
Rebirth once upgrades have slowed and the replay should catch up quickly. Keep the run when one nearby purchase gives an immediate jump or finishes the world gate.
Step 6: Check the next-world gate directly
World 2 follows normal progression, but its unlock cost, displayed name, and gate conditions need to be read in the current client. Visit the transition and check every requirement before settling into a long farm.
Do not treat a world label and a stage label as the same thing. Stages are the walls you clear within a region; Worlds are broader areas with stronger targets and new progression opportunities.
When the gate becomes reachable, compare two options:
- Enter World 2 now to access stronger rewards and new upgrades.
- Take another Rebirth or upgrade first to make the opening World 2 walls efficient.
Choose the option that keeps you from arriving in World 2 with too little output for its first useful target.
A clean World 1 session plan
Opening
Slash continuously, clear the first practical walls, and collect enough Wins for a meaningful improvement. Learn where the training, wall, upgrade, Pet, Aura, and Rebirth interfaces are located.
Growth
Alternate between your efficient wall and the next stage. Buy only upgrades that improve Power gain or wall speed. Equip useful Pets and activate the best confirmed Aura available to you.
Exit preparation
Check the Rebirth panel and the next-world gate. Complete the closer high-impact objective first. A Rebirth is valuable when it shortens the replay; a world unlock is valuable when you can handle the new region’s opening loop.
World 1 mistakes that slow everything down
- Camping one hard wall: move back to a faster Wins source.
- Buying every visible Slash: save for a clear performance jump.
- Treating rarity as the whole Pet stat: compare the current cards.
- Using an old unlock number: inspect the live world gate.
- Rebirthing without reading the warning: check the current reset behavior.
- Leaving Power idle during travel: keep slashing between objectives.
FAQ
What should I do first in World 1?
Slash for Power, test the early walls, and farm the strongest wall that breaks quickly enough to produce steady Wins.
Which wall is best for farming Wins?
Compare Wins earned over the same time on your newest wall and the previous one. Use the target with the better repeatable return.
Should I buy every Slash in World 1?
No. Buy a Slash when it creates a noticeable wall-speed jump; skip weak intermediate purchases when a better tier is close.
Do I need Robux to finish World 1?
The core progression loop is playable without paid boosts, and a recorded first-world run was completed without Robux. Paid passes act as acceleration rather than the basic route.
When should I leave for World 2?
Read the current gate, then enter when you meet its requirements and can build enough Power to handle the opening walls without a long stall.