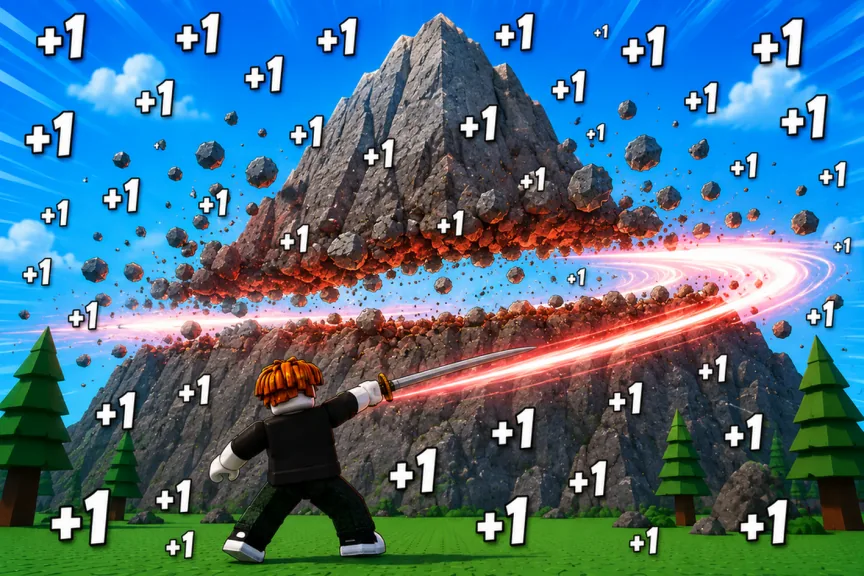
Use every shockwave to build Power
Each Slash throws a shockwave and adds Power. Simple enough. The part players miss is positioning: a flashy attack does nothing for your route if it does not connect with the wall. Face the target, watch for movement on its bar, and adjust before you settle into a long run.
Do not treat the visual effect as decoration. Watch where it travels, confirm the wall reacts, and adjust your angle or distance when attacks fail to connect.
Position before you spam
Stand where the shockwave has a clear path to the wall. If another object, ledge, or angle interrupts attacks, move rather than wasting inputs. Test the current range in game because updates and Slash types can change how the attack looks or behaves.
Use this loop:
- Face the center of the wall.
- Send a few controlled Slashes.
- Confirm Power rises and the wall takes progress.
- Adjust distance until hits are consistent.
- Continue the input while watching the wall breakpoint.
Keep moving Slashes active between nearby objectives when the game allows it. Power gained during travel reduces dead time.
Separate visual size from real output
| What you see | What to verify |
|---|---|
| Larger shockwave | Whether Power gain or wall progress actually changes |
| New Slash color | The live stat card, not the cosmetic effect |
| Longer visible trail | Whether hits connect from farther away |
| Faster animation | Whether the same time interval produces more Power |
A dramatic effect does not guarantee a better rate. Compare Power gained over a fixed interval and wall clear time after changing Slashes.
Improve the shockwave loop
Better Slashes strengthen the main action, while Auras, Pets, and Rebirth bonuses can amplify the wider progression loop. Change one system at a time during testing. If you equip a new Pet set, buy an Aura, and Rebirth together, you cannot tell which improvement changed the result.
Use walls as the practical benchmark. More Power matters when it lowers time-to-break, opens a later stage, or improves Wins per minute. If the current wall is already instant, test the next one instead of training for a larger unused total.
Mistakes to avoid
- Slashing at an angle that misses the target.
- Judging a Slash only by animation size or color.
- Standing in menus during an active temporary boost.
- Copying old range, rate, or multiplier numbers.
- Testing several upgrades at once.
- Assuming shockwave behavior inside PvP matches wall combat.
FAQ
What do Slash shockwaves do?
They generate Power and provide the action used against wall progression targets.
Does every Slash have the same shockwave?
Check the current live Slash cards and test each equipped option. Do not infer exact range or output from visuals alone.
Why is my shockwave not hitting the wall?
Face the wall’s center, remove obstructions from the path, and adjust your distance until wall progress responds consistently.
How do I know a new Slash is better?
Compare Power gained over equal time and the same wall’s clear time before and after equipping it.